I never anticipated taking a break from my blog but as most people can attest to, going from one to two kids makes quite a difference and does not leave for a lot of spare time. Honestly too, I was pretty blogged out. I always felt like I had to post something at least every week which after awhile became like chemistry homework instead just being a fun outlet. So now that I'm refreshed and the kids are actually at a point where they can sit still for a half hour and watch a show, I thought I'd fire up the ole blog again.
My daughter Audrey was born in 2013 and just turned 2. I can't believe how fast time flies when you're busy just trying to keep everyone fed, clothed, bathed, happy, healthy etc. I have heard people say, "The days are long but the years are short." and never has there been a statement that rings so true to me than that.
Cameron is now 4 and in preschool. He's a super smart kid who is a little on the shy side, at first. Give him 45 minutes and he'll be talking your ear off. He is also a super science nerd (said with great pride)! Cam loves science and especially loves doing experiments. We recently did a step by step instruction science video which I turned into a sort of faux "Cameron the Science Kid" Youtube type show. He's so proud of it.
Audrey just took her first dance class and loved it. She's a natural! She is very coordinated and not shy at all. She will start a preschool program in the Fall.
So back to business! Over the last 3 years I've done a lot of cool crafts and a few home projects here and there so I'll be playing catch up for a bit posting those things. I'll start with Valentine's Day since it's right around the corner. Last year we were invited to a super cute Valentine's Day birthday party and needed to bring 10 Valentine's cards with us. I came up with these super cute Play Doh flower cards. (Check out the lollipop photo Valentine's Day cards I made in 2014.)
To put these super simple cards together all you need are:
To put these super simple cards together all you need are:
- mini play doh tubs (You can get these at Target or Walmart and they're only $8-10 for 15 tubs)
- construction paper/card stock
- glue
- scissors
- tape
Choose what color you want the background piece to be and cut them to whatever size you want them. I made them rectangular (just folded paper in half) so that I could write a message at the top. Depending on how fancy you wanted to be you could put the paper through the printer and print the message on them or print on another piece of paper and glue that onto the background. But I was in a hurry so I just opted for the hand written message.
Next make the template for your flowers. To get the right size, turn your Play Doh container upside down with the top off and trace around that onto a piece of paper.

Then draw a dot in the center of the circle. From here free hand draw the petals. Make sure the circle you just drew is centered within the petals you drew.
Cut the flower out. Then cut the middle of the flower out, cutting about a 1/4 inch inside the circle you drew. Now make cuts along the circle making tabs that you will use to attach the flower to your background. Fold the tabs up.

For added dimension fold each of the petals in half, gently creasing each.

Draw another circle on your background using your upside down Play Doh container. Cut the circle out. Now place your flower with the tabs through the hole in your background piece, folding the tabs down flat. Glue the tabs down.


The best and easiest way to hold the Play Doh container in place is by simply putting a long piece of tape across the bottom of it and the paper. I just did one piece but you could do another piece running vertically for added stability.
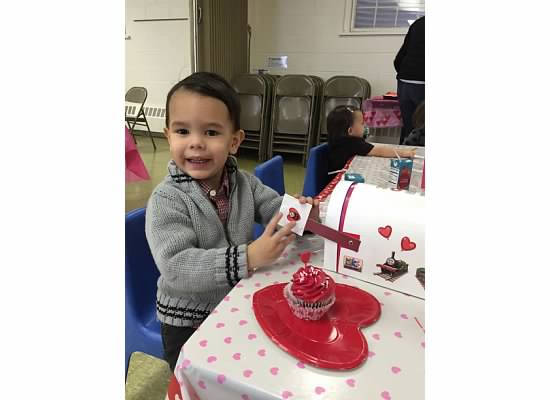
Cameron and Audrey had so much fun at the party. All the decor was super cute and they even had a magician which Cam just loved. This year we're making Valentine's heart necklaces for the ladies and
Star Wars themed cards for the dudes. Stay tuned for the deets on that!


This comment has been removed by a blog administrator.
ReplyDeleteThis comment has been removed by a blog administrator.
ReplyDelete